

Hi Everyone,
Today I'm making a tutorial for gift card holder. It's a little bit different than you usually see. But I really hope you like it. If you make them, please tag me on Facebook or Instagram so I can visit you and admire your work.

Supplies you need are:
1. Colored image of choice. I use Tilda from Fixer Upper Collection, stamped it using Memento Tuxedo Black on Fabriano Bristol paper. And I colored using Copic Sketch markers
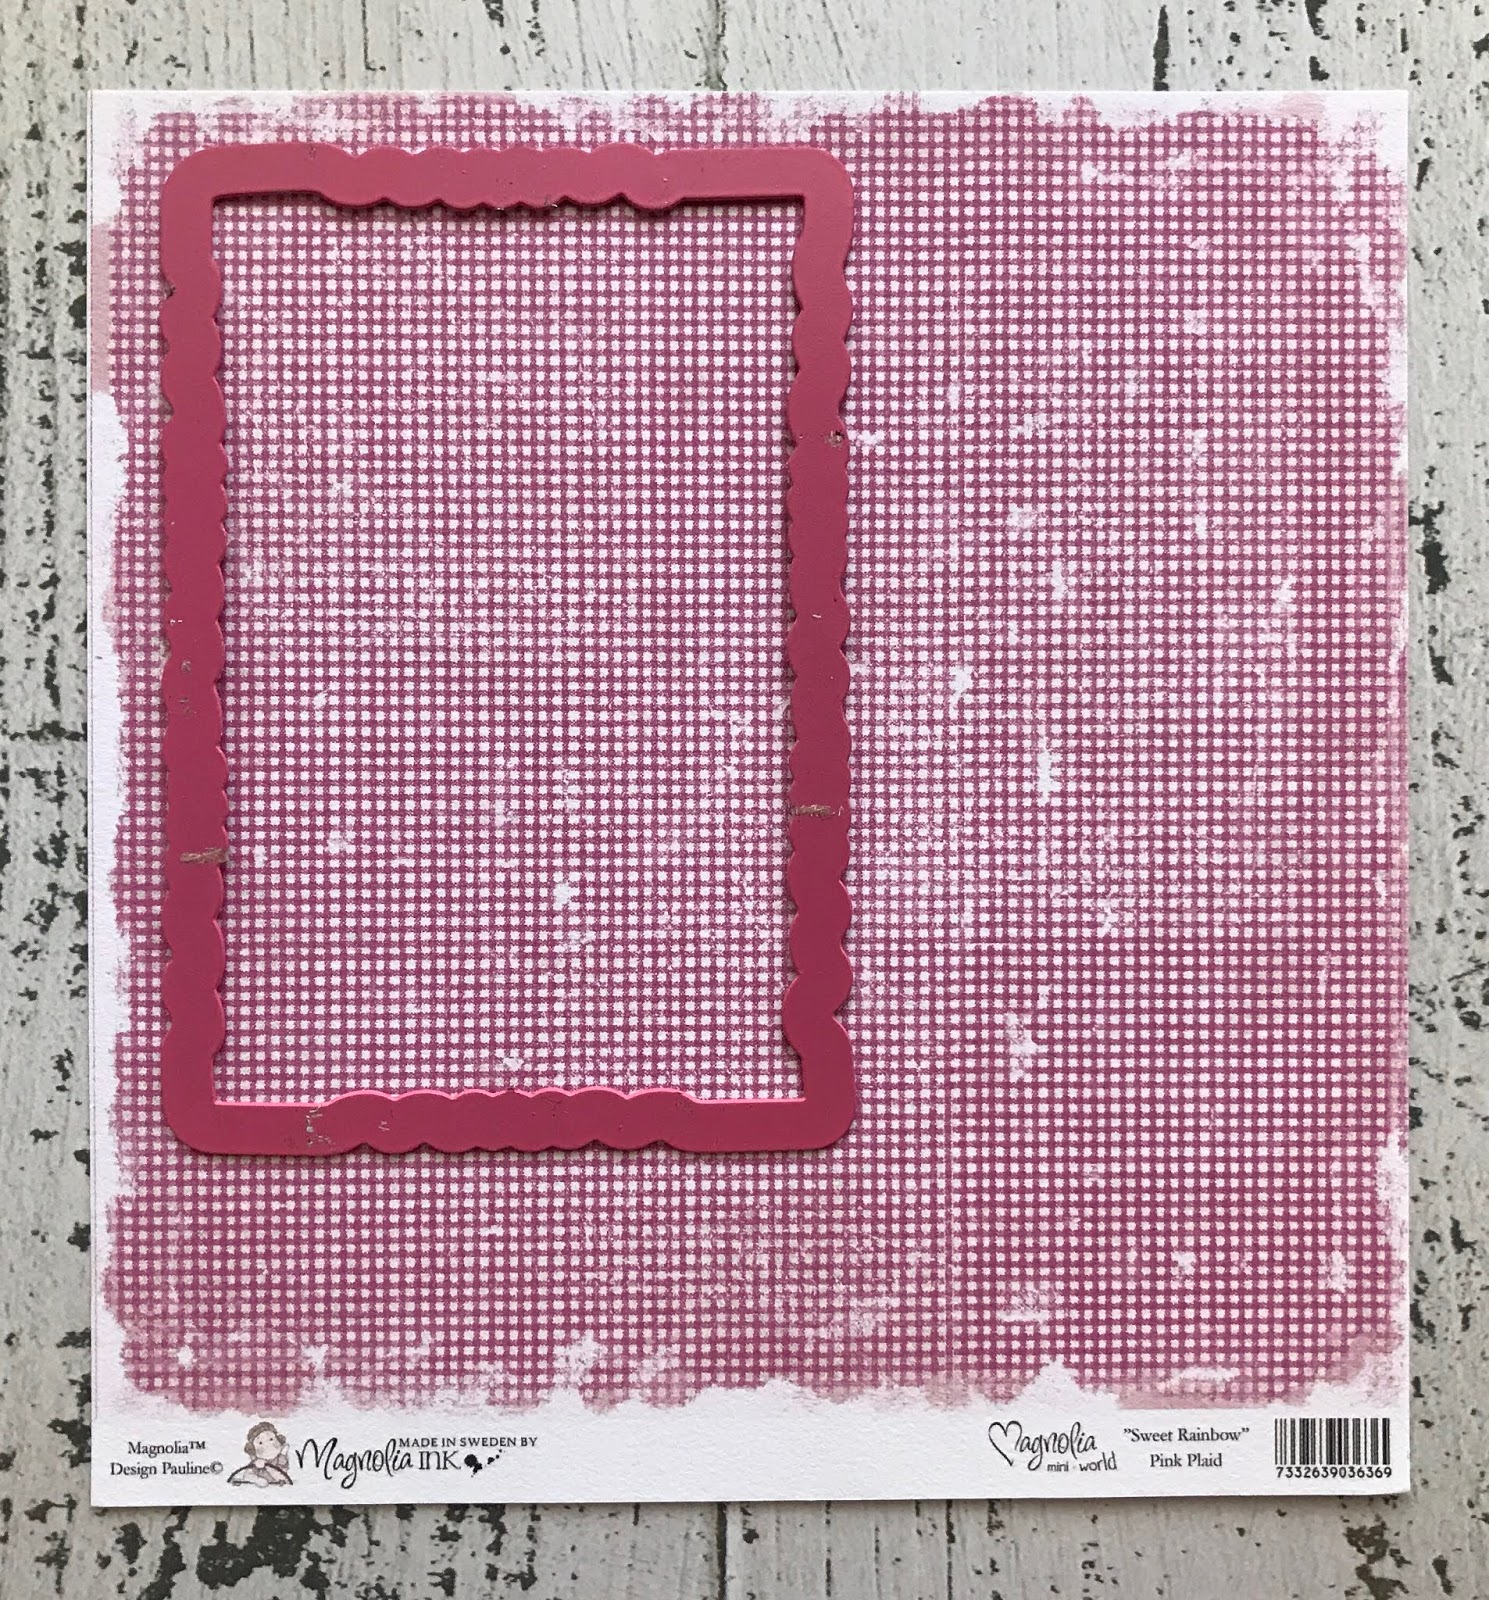
2. Two 6"x6" designer paper from Magnolia
3. Some flowers in coordinated color, brad/paper fastener, bone folder, foam tape/glue
4. DooHickey dies Vintage Frames and Tags

Cut one of the designer paper with the largest DooHickey.

Cut the colored image using the second largest DooHickey

Cut a smallest tag with the second designer paper.
Cut the second designer paper using second largest DooHickey

Score and fold it in the middle using bone folder and cut a one sided oval on the folded side. Careful to measure if it fits the gift card but not all the way to close to the side.

Put a thin foam tape around the inside, and carefully glue the insert.

Punch a hole in the middle of the largest and image paper, and assemble the smallest tag together with brad/paper fastener.

Glue the gift card holder insert onto the largest paper, and decorated with dies and flowers to your liking.

Here's the insert if you slide the image aside, you can write to who on the smallest tag.
Hope you like it, please give it a go. It took only roughly half an hour to make, and it will give a whole new level to your gift card.
Hugs,
Irene Daryanto


1 comment:
Beautiful idea, Irene! I just recently was able to purchase this die set and love it.
Post a Comment